Resend
In this example
Send HTML emails with PDF attachments generated in Comnoco using Resend.
Prerequisites
You will need:
Example Files to Download and Import
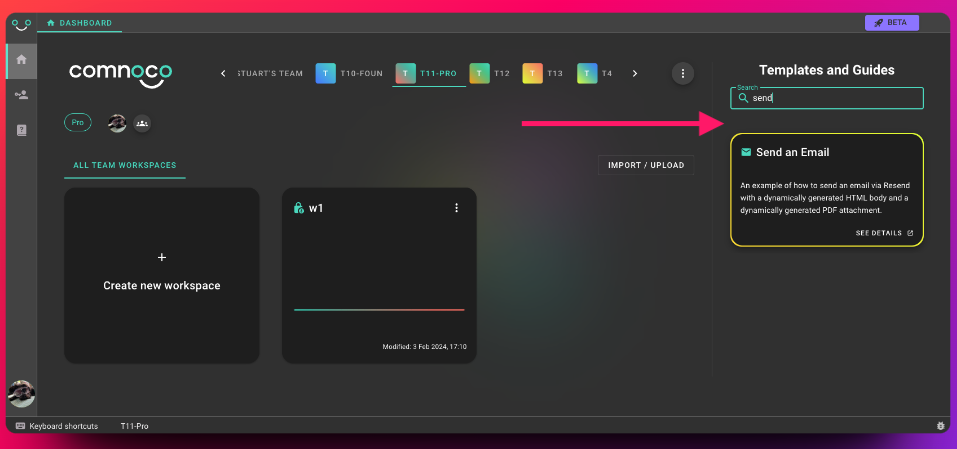
All you need to do is choose the Send an Email template from the Comnoco dashboard to get access to a ready to use function with examples.
What this gives you
- Trigger files that will create API endpoints for you to use to run the functions and send emails
- Function collection files (logix) with pre-build API functions
- An Email template file to create HTML email
- A Document file to use as an example PDF attachment
How to use the example
Resend API key
Set your Resend API Key as a secret 🤫 in the Workspace Configuration panel. You should name it ResendAPIKey for the connector to work (if you name it something else, you'll need to edit the connector function to look for the name you defined).
Remember to set it for your production environment as well.
Send a plain text email
The first function in the Logix file (Resend Send Emails) sends a simple plain text email.
Test it out in the UI by setting your values on the Email Details object properties in the Input Parameters.
Add the email you want to send from (with a verified domain on Resend). Then set the to email address, you can use these Resend test emails.
Add your subject and your plain text message as a value on the text parameter. Run the function (Send plain text email) and then look at the Response from Resend output parameter.
Send an HTML Email
The second function uses the base of the plain text email function but also includes an HTML email.
Set the Email details values in the Input Parameters the same way as in the previous function.
You can view and edit the email that will be sent by opening the file Email-Template.
Run the function (Send HTML email created in Comnoco) and then look at the Response from Resend output parameter.
Send Email with attachment
The last function sends the same HTML email with a PDF attachment.
Set the Email details values in the Input Parameters.
Run the function (Send an HTML email with an attachment) and then look at the Response from Resend output parameter.
Set up Triggers
There are three example Trigger files, each one maps to one of the functions in the Logix file.
You will need to add some security for your workspace. The easiest is to add a No Auth (Public) block in each Trigger file.
- In the
Trigger Authentication Methods, click the add-point and select a newNo Auth (Public)block. - From the widget in the Properties panel you can set up a
Service Userfor your workspace if you don't have one already then select theService Userto use for this Trigger. - Once that is done you can select
Active when publishedfor each Trigger.
Now you can go to the Publish view and publish your workspace (save all changes).
Go to the Status panel to view your published Triggers.
Click on an API Spec to see the mapped POST method and use the "Try it out" to test each Trigger. You can also use this to get the URL to use in your own applications.
Sample data when testing Triggers
Use the sample data below, adding your email address on a verified domain, when calling the Trigger URL to send the email. You can use this on the Status screen when viewing the API Spec and using the "try it out".
"Email details": {
  "from": "[email protected]",
  "to": ["[email protected]"],
  "subject": "Hello from Comnoco",
  "text": "This is a plain text email send from Comnoco using Resend!"
}